


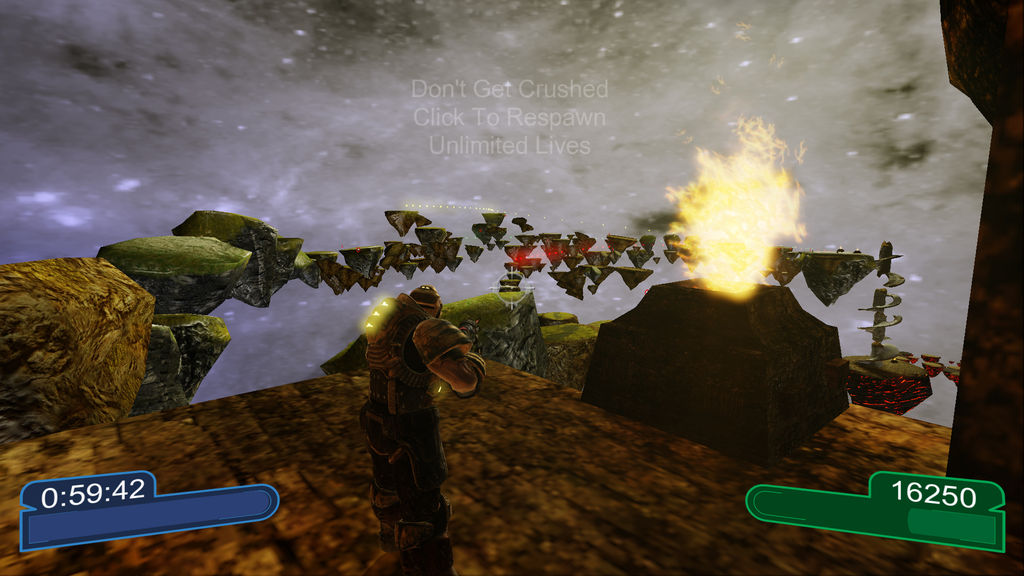

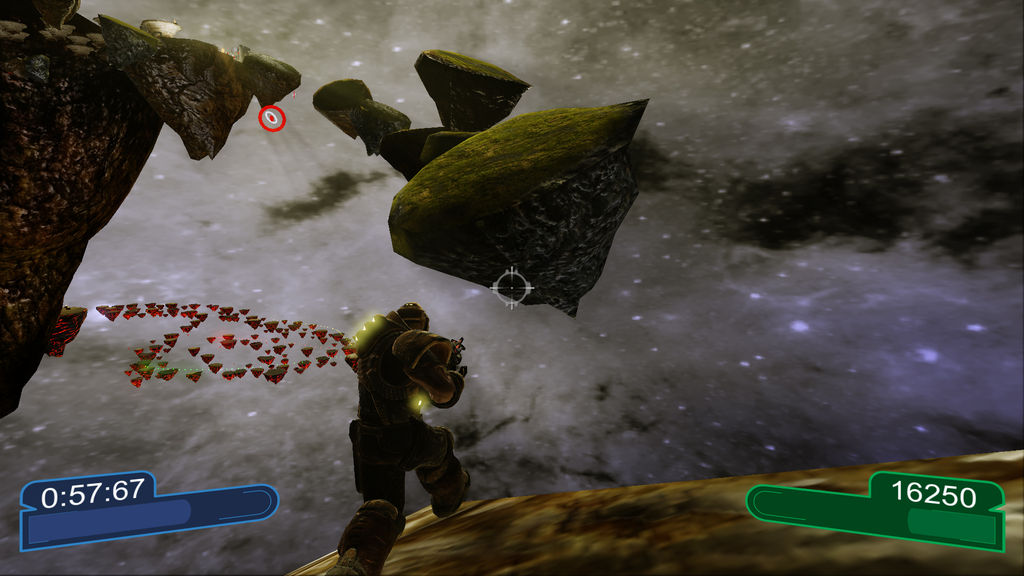
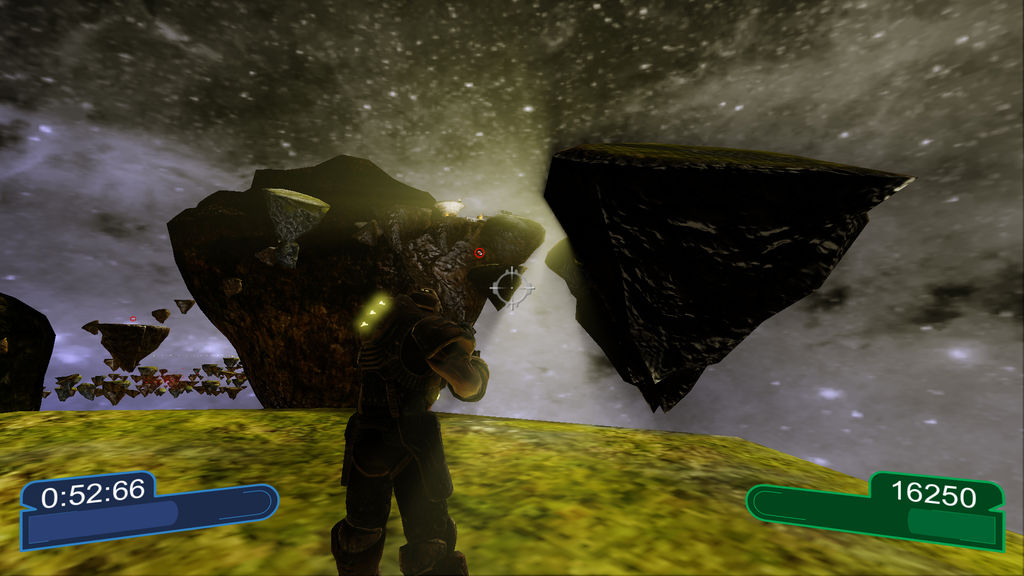
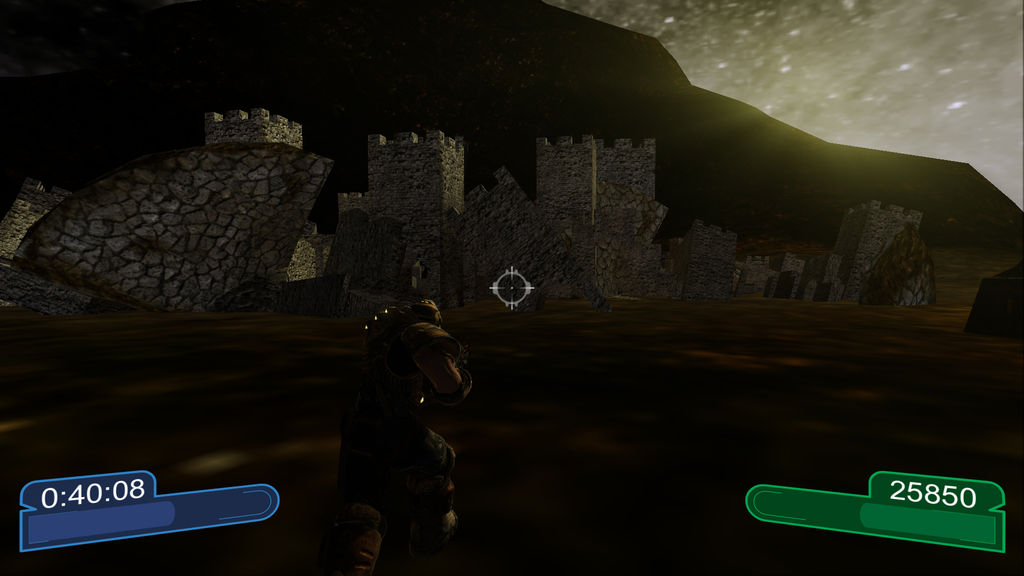
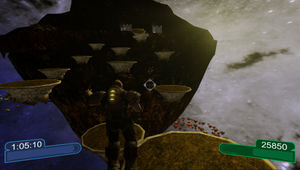
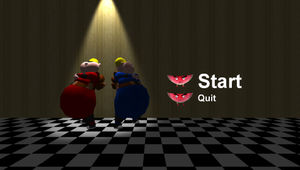
3rd Person Platformer
Jun's name comes from jump + run. This was a team project between myself and some fellow art students at the Art Institute of Atlanta for Game Prototyping.
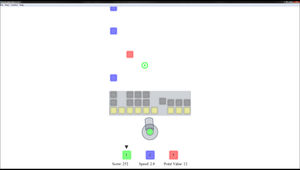
Physics Puzzler
Magnedude was a game made at the Global Game Jam 2011. It is a physics puzzler based on magnets. I was lead programmer in a group of 10 artists and 2 programmers.
Casual
Blockectomy was the first game I had ever made start to finish. It is a mix of bubble pop and tetris. It was put on Newgrounds and Kongregate.
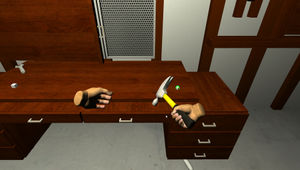
Serious Games
A proof of concept for hands on, interactive training for the GA Tech Research Institute. The project uses the Razer Hydra for its six degrees of freedom.
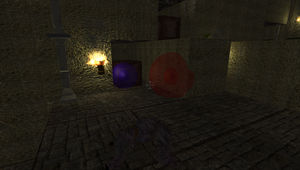
Coop Platformer
Two boys connected by a child leash must work together to navigate an over sized kitchen. At the end is a huge chest of candy, but evil vegetables and fruit block their path.

Built from Scratch
My previous website was a heavy, bulky Wordpress site. It was convenient, but could be so much more. A friend designer came up with a design, and this site is the result.
iOS Server Back End
Dead drop is game where gps positioning is the main mechanic. The server was originally written in Cake, and I was a part of converting it to Nodejs.

Website for Pick Database
Total Computing Solutions provides a point of sale system based on the Pick Database. Campus webstore is the ASP.NET website for this backend.
"A programming position that is challenging and mentally stimulating, where pleasure results from the start of a work day rather than its end" - that's been my first and only mission statement as far as my career is concerned. I'm a programmer because I love it. I like solving puzzles. There have been nights when I could not sleep because my brain was picking apart the best way to structure an application. If you are looking for a highly motivated programmer who is totally into his craft, you have come to the right place.